Gimp plugin Texts from list: Tools

Preview how the text strings look once the variables are applied, without needing to run the process from GIMP. Enter the text for the GIMP layer using the column identifiers ({tx1}, {tx2} …), remember that variables prefixed with “lay” are for displaying layers and are not used in replacements.
Enter the lines containing the replacement strings, with each replacement separated by a semicolon (;):
Generate typewriter-effect animations, if your string includes variables mark the parts to be separated with a circumflex accent (^). Enter the text to be animated; upon clicking “Generate,” you will get the list of strings to use with the “Texts from list” GIMP plugin.
Generate from
 

    Gimp python console extended

    Console extended is an update for gimp plugin that adds a property viewer. Passing the object name or variable list his methods and variables and double-click on the name add to the console. Updated to work in Gimp 3, added the option to insert any of the enum values with one click.

    2026-07-27

    This version adds several new features:
    • Top menu: Buttons previously at the bottom have been moved to a new top menu to accommodate new options.
    • History viewer/editor: This new option allows you to delete specific lines from the history or clear it entirely.
    • Minimize button: An option to minimize the console.

    2025-07-23 New snippets tab

    This new version adds the Snippets tab to store frequently used code grouped by category, with the option to add it directly to the console or to a text field for editing before inserting it.

    2025-08-04 New icons browser

    This new version adds one icons theme viewer with browser for add visually icons to our code.

    Installation

    Download and unzip the zip and save the two files to any folder listed on the plug-ins sections in the plug-ins preferences (menu Files>Preferences>Folders>Plug-ins)

    Download

    Previous versions

    Plugin Gimp 3: Stitch layers

    This script rotates, scales, and translates a layer to align it based on matching points on two paths. We create two paths containing the matching points on the two layers and then run the script. Using the dropdown menus, we select the layer to be modified and the two paths. We can choose whether to create a new layer and select the type of interpolation to apply. Although the plugin’s original purpose was to stitch together images scanned in sections, it can also be used to move smaller layers within larger ones.

    Sample Video

      Sample of the same layer with the different interpolation types

    Changes

    2026-06-29 Fixed error with the selectior of interpolation in some versions of Gimp in Linux. Translated for german by Gimplyworxs

    Download

    arakne-stitch-2026-06-29

    Previous downloads

    arakne-stitch-2026

    Gimp plugin Texts from list

    This plugin allows you to export images with different text from a string list. For each line in the list, you can change the content of the image’s text layers using variables defined in the layer itself or the layer name. We can also display hidden layers by adding the name of the layer to be shown to the line; the layer name must begin with the prefix “lay”—for example, “layGreen”. This allows for the creation of ID badges, personalized cards featuring the company logo, and so on. Sample of handle layers visibility from the list
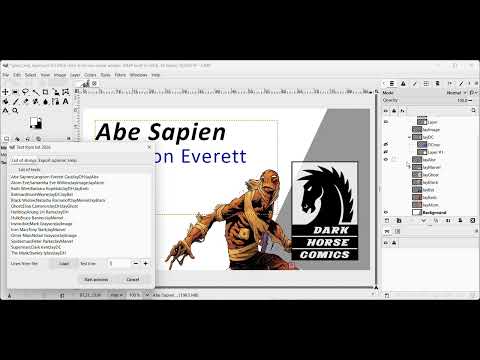
    Format of the list

    The list has the same structure as a CSV with a column separator ; (semicolon). A valid sample of list could be this:
    
    In this example, we define a list of eleven rows and two columns. Internally, the plugin processes it as follows:
    
    The content of text layers named “tx” followed by a column number will be replaced with the content of that column. For example, the text layer named tx1 will be replaced with “Superman,” “Clark Kent,” etc., for each export, and the text layers named tx2 will be replaced with the content of the second column (e.g., “Lois Lane”). If a text layer contains multiple lines of text, we will use variables within the layer, using the column name enclosed in curly braces ({}), for example ({tx1}, {tx2}, etc.). For each line in the list, we will export the image with the replaced text in the format, folder, and filenames selected in the Export Options tab.
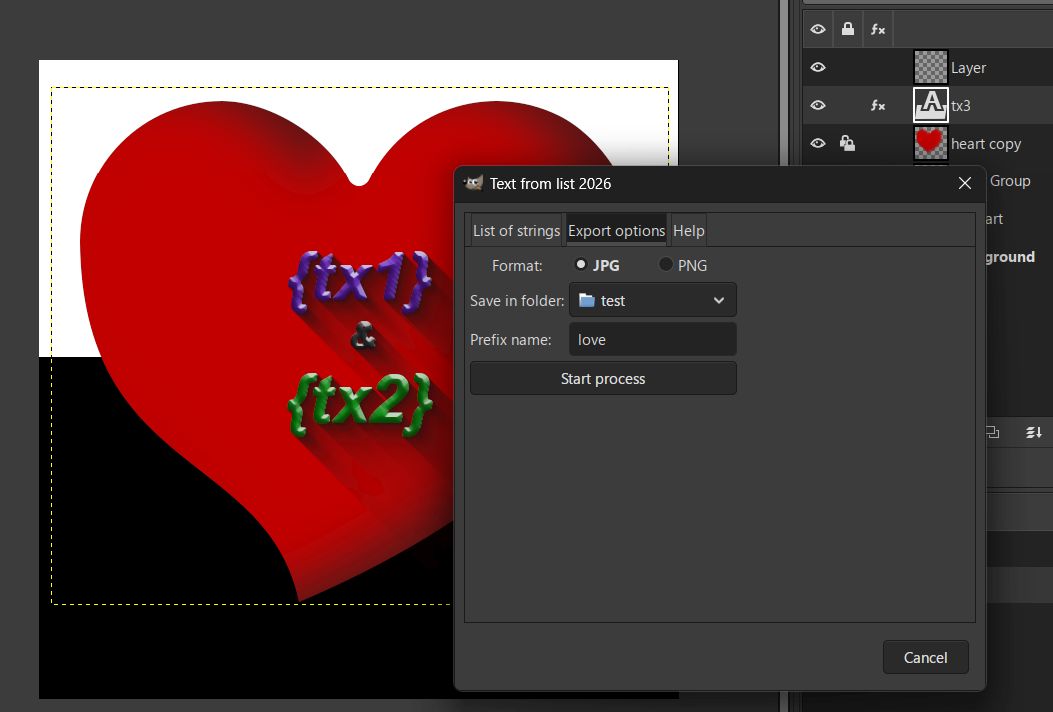
    Sample video

    Updates

    • 2026-07-10: Fixes an error with the regular expresion that ignores some variables. Cleaned unused folders and files. New option for preview lines before export writing the line number to preview.
    • 2026-06-20: Fixes two errors: a callback executed before a label is added to the interface in saved files and the handling of text layers with and without markup
    • 2026-06-19: It forces you to choose the destination directory if you’re not working with a saved image. By default, it uses the current image folder and the image name as a prefix for exported images.

    Download

    Previous versions

    Gimp shapes: new option roundness for the Moon shape

    A new option has been added to the Moon shape that allows you to round the intersections of the two circles that create the shape with a circle of radius X. To install it, unzip the .zip file and copy the contents to the arakneshapes folder within the path-shape-creator-2026 directory, overwriting the existing file. Starting with the next version of the plugin, this option will be included and this process will no longer be necessary.

    Download

    shMoon

    Gimp plugin: shape creator 2026

    New version of the GIMP path creation plugin that includes the option to add Vector Layers from the path being created, making previewing very large images easier. The Arches category has been created, adding new arch types to the two existing ones:
    • Round
    • Basket-handle
    • Lancet
    • Horseshoe (with three variations)
    • Round rampant
    • Draped
    • Oriental
    • Segmental
    • TreeFoil

    Updates

    2026-07-02
    • New option Displace Y for the Ray shape, new option Roundness for the Letter shape and fixed and error with the shape Moon that shows to the user the minimal roundness radius.
    2026-05-28
    • New shape Bubbles, Combined with the Cloud shape, it allows you to create thought bubbles for comics.
    • New German translation contributed by gimplyworxs
    2026-05-25
    • New shape Leaf and new option for round the base of the Heart shape
    • Updated the translation in spanish
    2026-05-21
    • New option Regular for Letter envelope
    • Fixed error with the shape Rombus
    • Hide option for select Stroke for Vector Layers in the systems that not support it
    2026-05-13
    New shape Frame sunken with three options Tested on Ubuntu in Windows
    2026-05-04
    New value for Heart: Overlap, smooths the union of the two top circles
    New arch Treefoil
    Fixed the fail on rotating the Cloud shape, the first/last node rotates in a extrange way
    Fixed: Some shapes creates redundant overlaping nodes only noticeables when editing the route manually or appling random
    Fixed: Extra point at the start of the Star ellipse shape

    Installation

    This version is not backward compatible; you must delete the shapes and arakne-path-shape-creatorX.py folders. More information in this post https://www.arakne.es/en/gimp-scripts-python-where-to-install/

    Download

    path-shape-creator-2026-07-02

    Previous versions

    Blender Add-on: Extra meshes

    This Blender plugin, developed in Python, allows you to create Blender meshes with just a few parameters. The available meshes are:
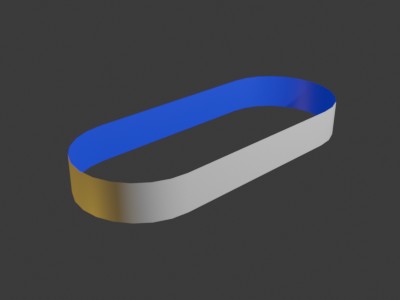
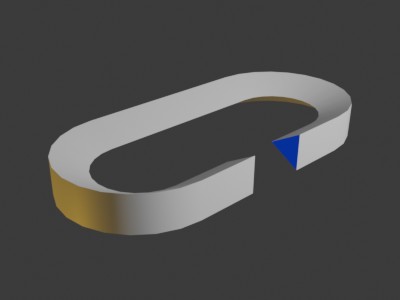
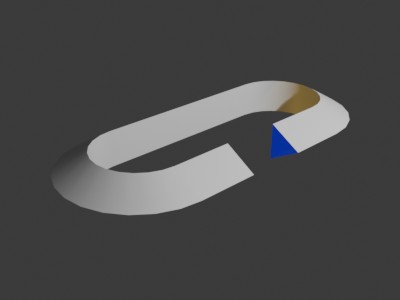
    • Box from corners
    • Cylinder/cone from 2 centers
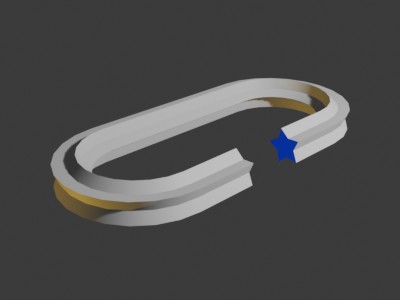
    • Torus from 2 sizes

    Box from corner

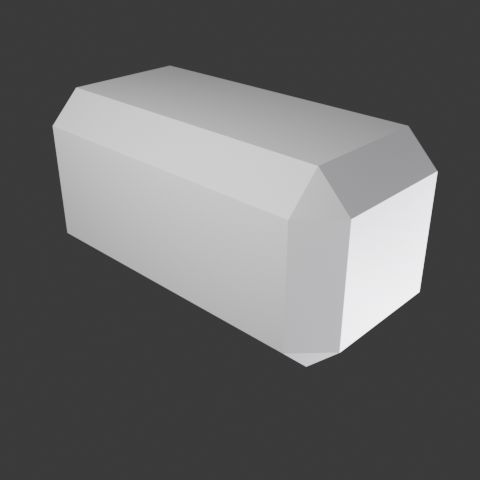
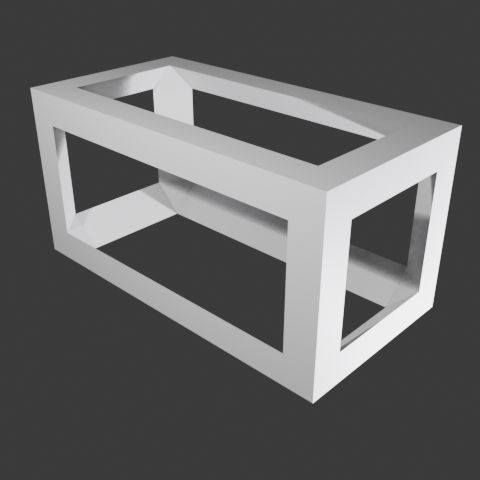
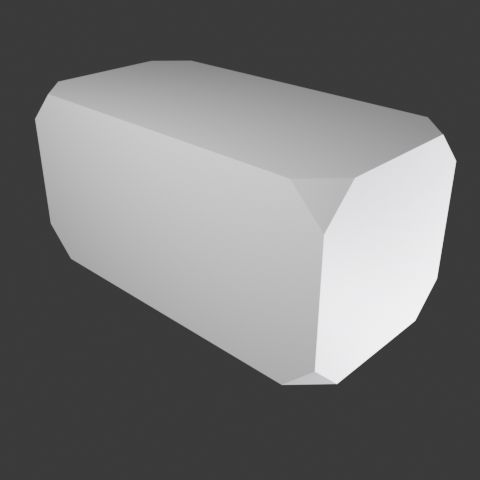
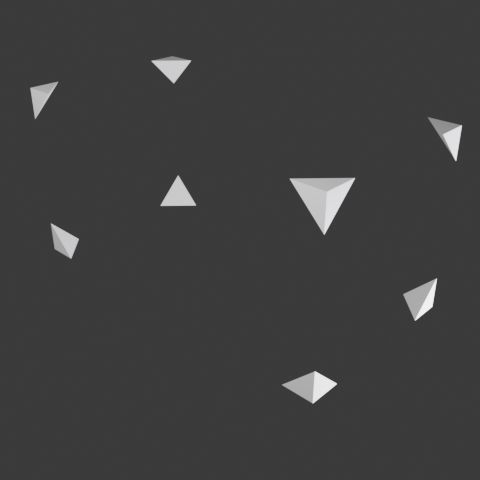
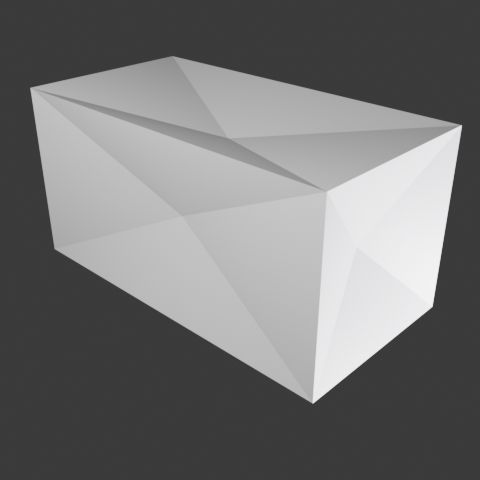
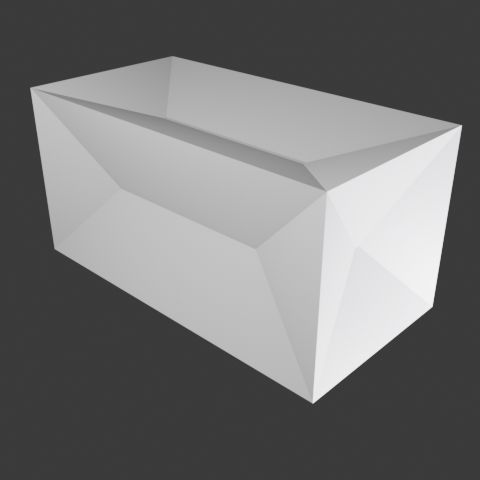
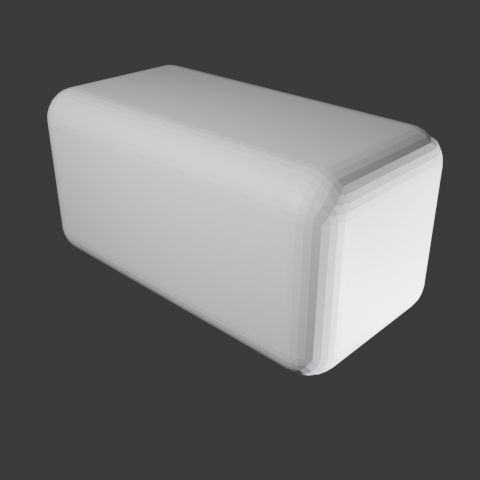
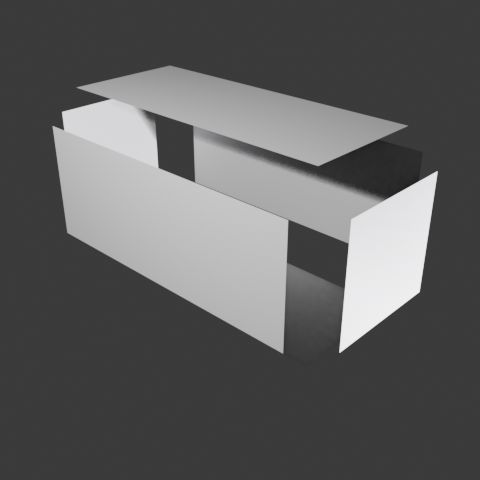
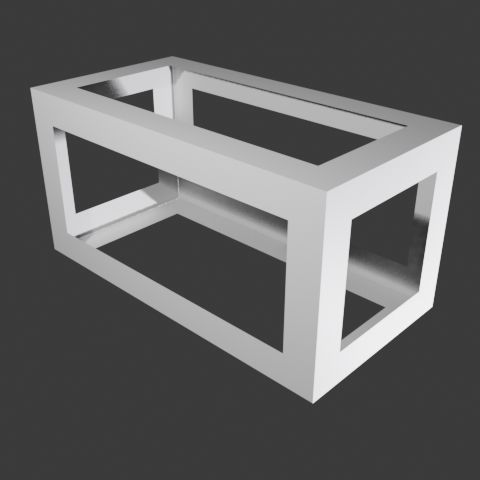
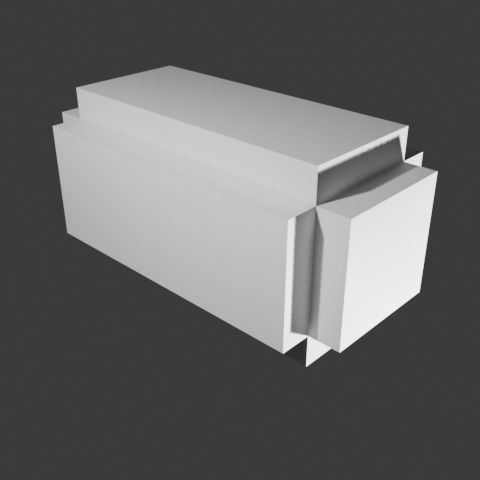
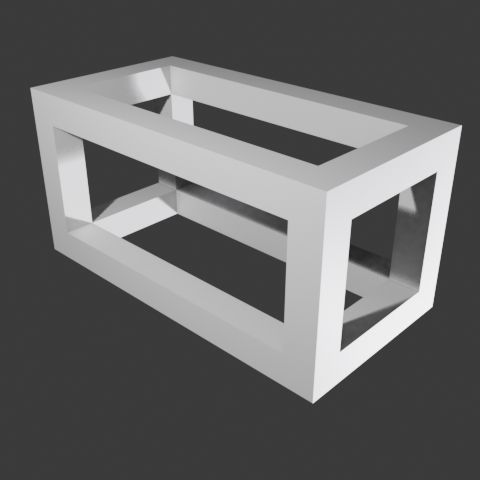
    This option allows you to create boxes from the coordinates of their two opposite corners. You can enter the coordinates manually or derive them from the bounding box of any mesh in the scene. This utility lets you select the type of edges for the resulting object from these possible values: Some of these options allow you to achieve the inverse effect. Once installed and activated, you can access the addon from the Add>Mesh>Box from corners menu in the 3D editor Viewport, or from the sidebar (View>Sidebar (N key)) in the Misc tab.
    Demonstration Video

    In this video you can see the plugin in action:

    Cylinder/cone from 2 centers

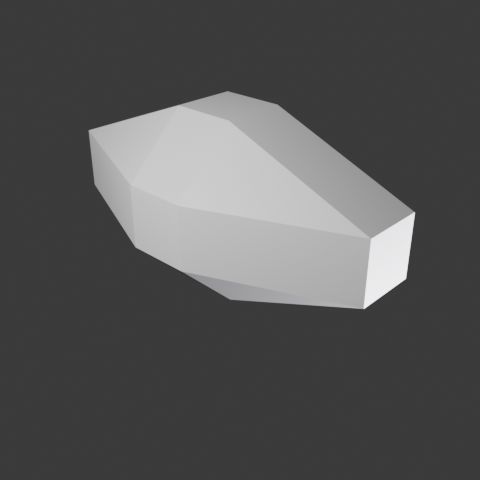
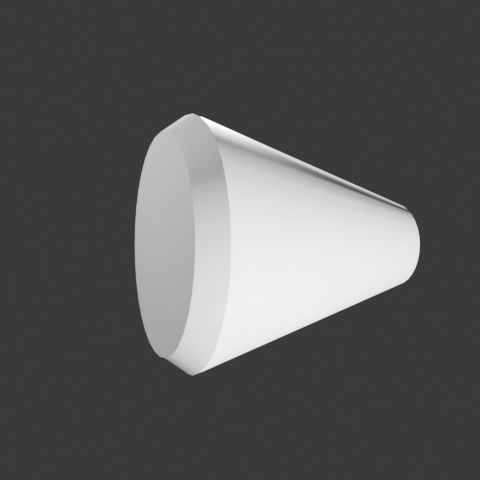
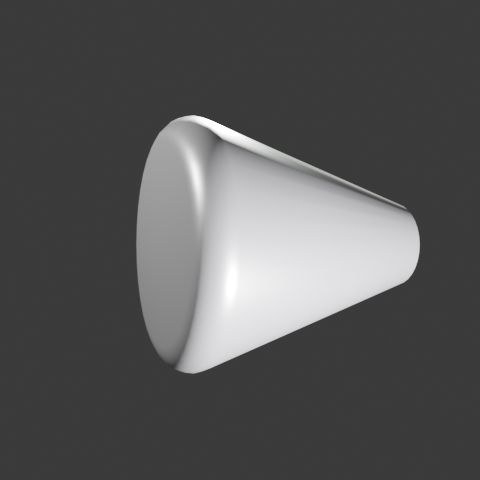
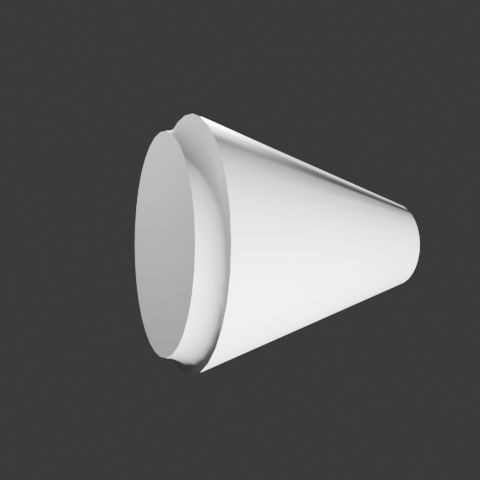
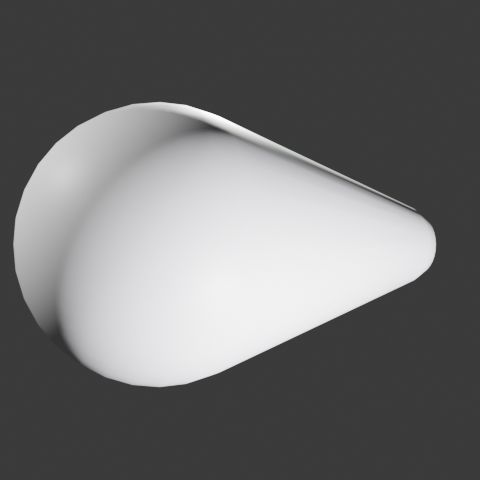
    This option allows you to create cones or cylinders from the coordinates of their two opposite centers and their radii, or from two connected spheres. You can enter the coordinates manually or derive them from the opposite corners of the bounding box of any mesh in the scene. This utility lets you select the type of edges for the resulting object from these possible values:
    • Rect
    • Bevel
    • Rounded
    • Stud
    • Scoop
    You can see an example of using this option in this video:

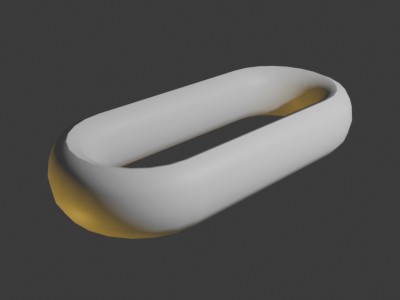
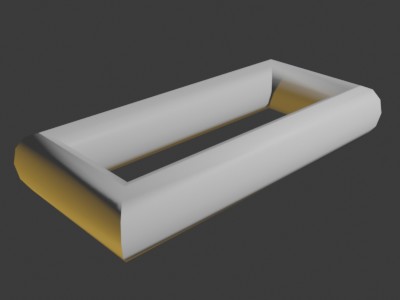
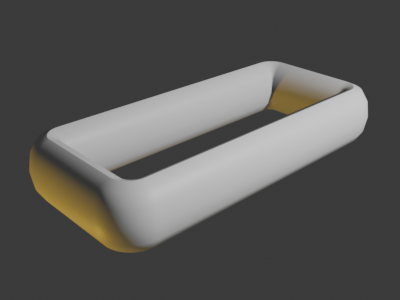
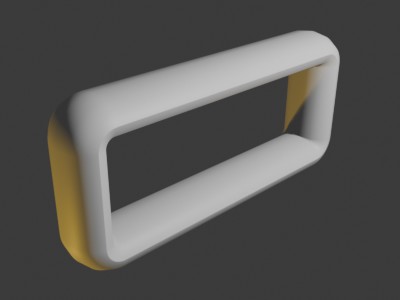
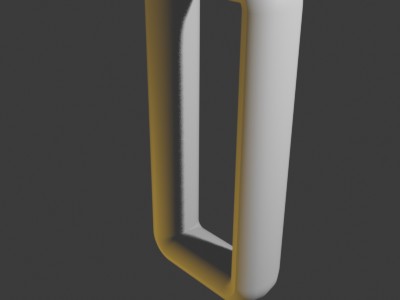
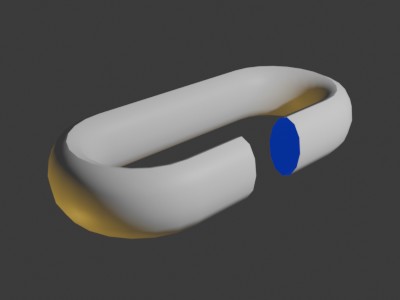
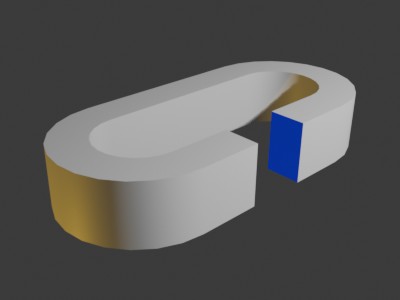
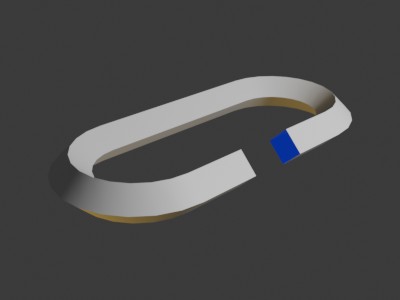
    Torus from 2 sizes

    Create torus like objects from x and y measures and choosing the profile type. See the new mesh option in this sample video   The types of mesh: Samples of planes: Profile samples:

    Updates

    • 2026/03/11 Added to Torus from 2 sizes: Any flat mesh generated in the X plane can now be selected as a profile. Checkboxes to reflect profiles on either axis. Removed some profiles that can be created using the reflect options.
    • 2026/02/12 Changes to Torus from 2 sizes: Added two shapes: frame with straight or rounded corners. Rotation of the profile used to generate the “Toroid”. New profiles: Horizontal/vertical line and star
    • 2026/01/23 This new version adds the following options to Torus from 2 sizes: Choose the generation plane: x, y, or z. Total torus size: Centered, internal, or external. New profiles: Triangles pointing inward or outward from the torus.

    How to Install

    Once downloaded, follow these instructions to install it:
    1. Download the .zip file from this page.
    2. In Blender, go to Edit → Preferences → Add-ons → Install.
    3. Select the downloaded file and activate it.

    Download

    extra_meshes_arakne_2026_02_12

    Older versions

    Blender AddOn: OneClick Merge-Delete

    This extension streamlines the mesh editing workflow by eliminating the need to choose the Merge or Delete type each time. It adds a panel to the Tools section that lets you set the default action when using the M or DEL shortcuts.

    Main Features

    • Instant merge or delete with a single shortcut.
    • No pop-up menus interrupting your workflow.
    • Allows configuring the merge type (center, last, first, etc.) or delete type (vertices, edges, faces, dissolve, etc.).
    • Compatible with Blender 5.x.
    Small but powerful, this add-on saves valuable seconds and makes your modeling workflow smoother and more efficient.

    How to Install

    1. Download the .zip file from this page.
    2. In Blender, go to Edit → Preferences → Add-ons → Install.
    3. Select the downloaded file and enable it.
    4. Done! You can now instantly merge or delete vertices, edges, or faces using your favorite shortcut.
    Ideal for artists who want to optimize their time and focus on what really matters: creating.

    Demo Video

    Download

    one_click_merge_delete_2016_01_15